I have finally got round to doing my wildlife pond, in my garden. I wanted to do this late Summer, early Autumn, I unfortunately ran out of time. However, I have finally got it done, all I have left to do is to plant some wild flowers, make a small log pile, and find some pond plants in season to entice the frogs, and wildlife.
I thought I would do this blog in parts, so you guys are not getting bored of reading a long essay. In addition, I wanted to write this, to help anyone thinking or wanting to know how to make a wildlife pond.
Now in my garden, we used to have a large fish pond. We mainly kept goldfish, but also had other wildlife living there. Unfortunately most of our fish either died or went missing (we think a heron may of had some). Therefore, it got drained and covered up, and is now going to be a small rose garden.
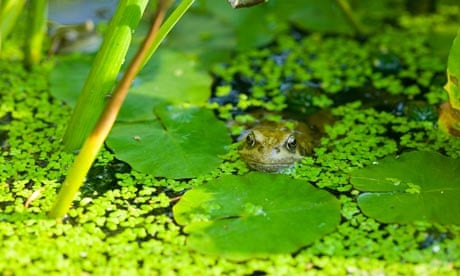
However, I wasn't happy, I wanted a pond still to help the wildlife and to give the frogs their home back. I had a look around the garden and found a little area, that isn't being used and thought, this would make a great wildlife area.
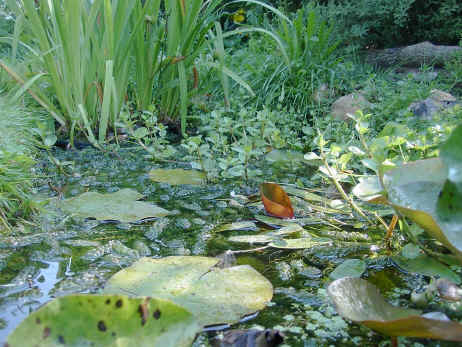
I wasn't looking to have fish again, I wanted something easy to manage but give lots of habitat to different wildlife species. Therefore, I thought it would be a great idea to do a wildlife pond area, with some wild flowers to attract species like, bees, butterflies, moths, hoverflies, wild birds, and more. I have already helped out some wild birds, at the end of last year, which I will do another blog on.
With the pond I started out by doing a lot of research. I needed to know what depths I needed for plants, and wildlife. I needed to have a look at different plants which are native to this country. What different shapes, products to use, how to do certain things, and generally have a good look around.
The area I have chosen, isn't a massive area, so I needed draw out what I would like and how I will achieve it. I think it is a good idea to look around, and decide on what shape, size and plan it. Therefore, the first step is to plan what your want, what materials to use, time of year to plan, prices, and where to placed your wildlife pond.
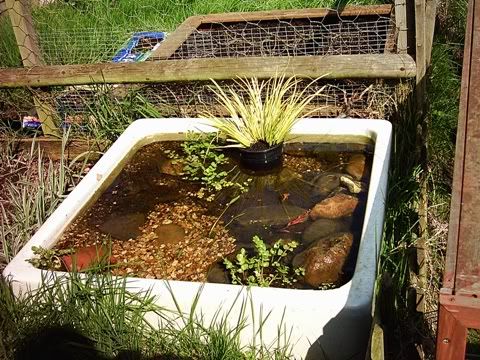
A few things to help with the planning. The size, and shape is up to you. There are different things you can do depending on the area you have to work with. You can either dig a pond out, or if you have a small garden, then you can use objects like an old sink and fill with water, plants, and a way in and out for wildlife. It all depends on what you have to work with. I personally dug a pond, as I had the space to do it. However, I am thinking of doing an old sink pond somewhere else in the late future.
When making your own pond a good minimum is 25-30 cm in the middle. This is to get a good depth for different plants. However a minimum of 60 cm in the middle will provide an area for amphibians to lie dormant in the winter, and during icy weather. As they can still get oxygen at the bottom on the pond.
I would also recommend adding shelves to your pond. You can have as many shelves as you like, all depends on the size of your pond area, and what species of plant you would like to add. As an idea, if you have gone for the middle to be 60 cm, then add a shelf in for 25-30 cm. If you want more shelves you could add another at around 10 cm, so you can have different species of plants. It is best to look around and see what species of plants you want, as there is a wide range to chose from.
Another idea is too place a slope in one area. This gives an entrance and exit point to all wildlife. Can also potential help animals that would like a drink, and it gives them somewhere to go where if they fall in, they can get back out.
This should get you started on your planning for your pond, what information to find out, and how to achieve what you want in your garden. Next I will go through stages on how I completed my wildlife pond below, by showing what shape and products I used, and plants I would like to plant.

No comments:
Post a Comment