In this post, I am going to show you the outline of my pond, and what shape I have done. As well as what shelving I decided to add.
Firstly I would like to advise you to use either sand, rope or string to line your pond out. This is to help you dig it in the shape you want and help you to use it as a guideline. I used a thick rope, as that is what I had, and used it as a rough guideline.
The place where I put my pond, was not the easiest to dig. It had lots of small and large stones, glass, bottles and all sorts. Therefore, it took me a while to dig and made me change my lay out a bit. However, as you can see down below this is my rough shape of my pond and my first shelf level.

As you can see I just did a circle shaped pond. It was the easiest shape to do, with the space I had. Therefore, I got the outline and first shelf level done, and next was to get my next level done. I originally only planned on a deep hole in the middle with one shelf, however, as I was digging the pond, my plans did change.
Once I got my first layer done, I then went and did the middle. I went for around about 60 cm deep, to give an option for amphibians to lie dormant in the colder months, and potentially encourage more wildlife.
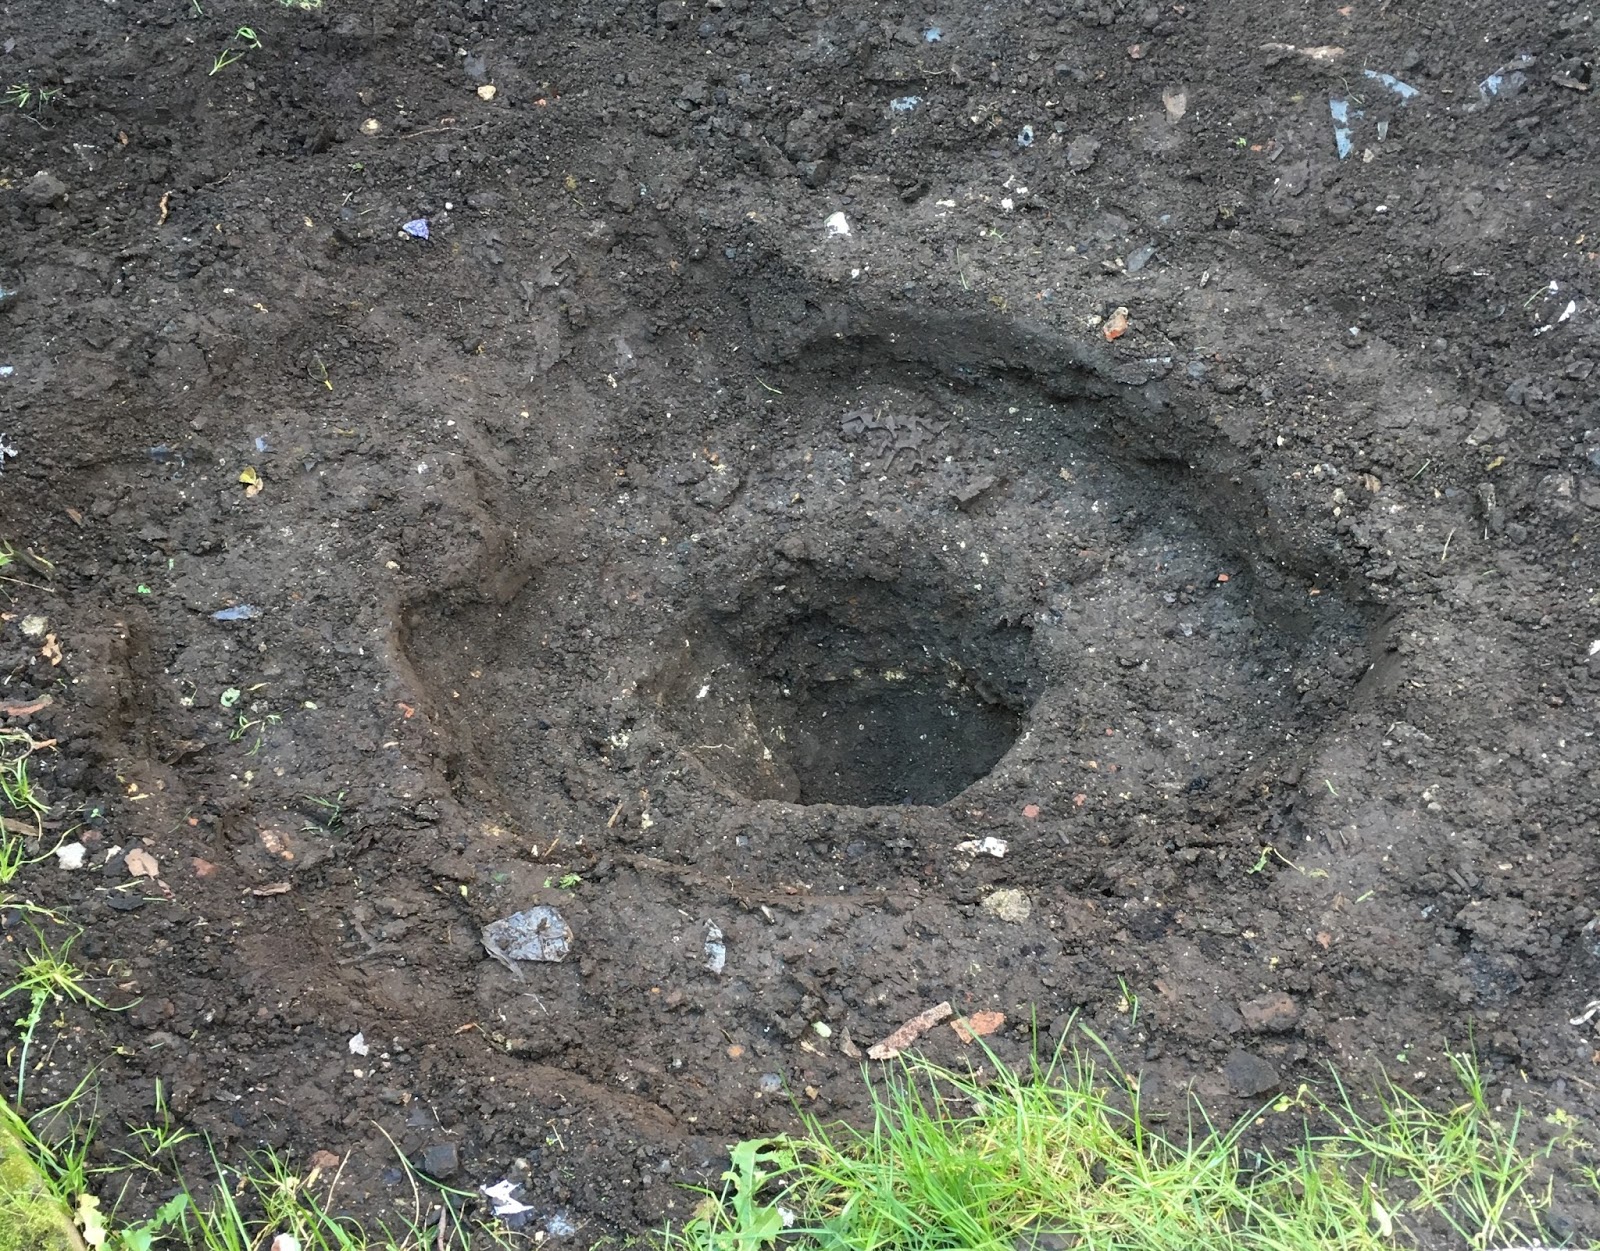
Here is the shaped of my pond above. Here you can see I dug the middle out and also added another shelf. I thought I would add another shelf to give my pond more plant options, to encourage different wildlife species. One shelf is approximately 30 cm deep, with the other being appropriately 10 cm deep. In addition, it is not very clear in this picture but I also did a slight slope on one side. I did this as it gives access for amphibians to get in and out. As well as other wildlife, for example, if a hedgehog wanted a drink it has a way of getting in and out, without getting stuck.
Once you have dug your pond, you will need to compact the soil to ensure it doesn't crumble. This can be done by using the back of your spade to compact it, which helps keep it sturdy.
Unfortunately I didn't take another photo of my pond before lining it, but I did make some changes to picture above. On the opposite side to the slope I did another slope. However, this one just goes from the top to the deepest level. This has given more of the deepest depth, as well as breaking up the shelves. I personally thought it looked better with a slope as I wanted a slightly bigger middle and with the space I got, it was the best option. You should see it clearer on the next post when I talk about lining the pond.
No comments:
Post a Comment